


Healthy eating has entered its buzzword era, and not all of the terms are as obvious as...
Copayments and coinsurance are two common health insurance costs, but they work very differently. A copay is...
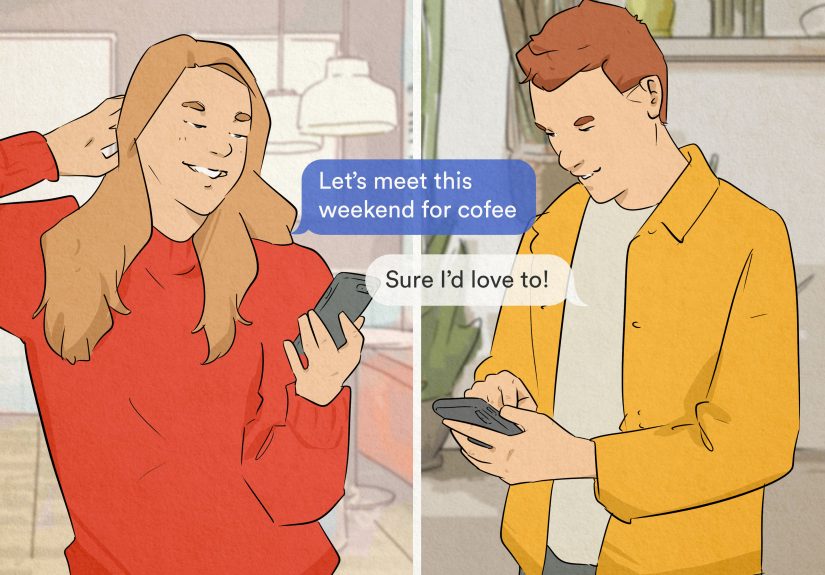
Wondering how to trust a guy you met online without losing your common sense? This in-depth guide...
A hand-thrown faceted candleholder brings together ceramic craftsmanship, sculptural texture, and the cozy glow of candlelight. This...
Prime Day ends tonight, and the biggest deals over 70% off are disappearing fast. This guide shows...

A phone photo can capture a moment, but a drawing or painting can turn that moment into...

An old wooden window can become far more than forgotten salvage. With careful cleaning, structural repairs, a...

Polypectomy may sound intimidating, but it is often a fast, minimally invasive procedure used to remove colon...

Straight edge isn’t just “not drinking”it’s a culture-born commitment to staying alcohol-, drug-, and nicotine-free, often rooted...

Mortgage rates have eased from recent highs, and many mainstream forecasts suggest they may hover around the...