Table of Contents >> Show >> Hide
- Choose the Right Old Window for Your Mirror
- Old Window Mirror DIY Tools and Materials
- Safety First: Check Old Paint Before Disturbing It
- How to Turn an Old Window Into a Mirror
- Step 1: Photograph and Label the Window
- Step 2: Remove the Existing Glass
- Step 3: Clean and Repair the Sash
- Step 4: Prepare and Finish the Wood
- Step 5: Measure Every Opening Separately
- Step 6: Choose a Mirror Installation Method
- Option A: Install Individual Mirror Panes
- Option B: Mount One Mirror Behind the Entire Frame
- Option C: Apply Mirror-Effect Coating to Existing Glass
- Step 7: Add a Protective Back
- Step 8: Install Hanging Hardware
- Where to Display a Repurposed Window Mirror
- Common Mistakes to Avoid
- Practical Experience: What DIYers Learn From This Project
- Final Thoughts
An old window has already survived rainstorms, temperature swings, questionable paint colors, and possibly several decades of people arguing over whether the room feels drafty. Retirement seems reasonable. Fortunately, retirement does not have to mean a trip to the landfill. With careful preparation, a salvaged sash can become a distinctive mirror that brings character, reflected light, and a little architectural history into your home.
This old window mirror DIY project works especially well in entryways, bathrooms, bedrooms, dining rooms, and dark hallways. The original muntins create the appearance of multiple mirror panes, giving the finished piece the charm of a vintage farmhouse window without requiring you to install an actual window between the coat closet and the laundry room.
The process is approachable, but it is not a “slap on some glue and hope gravity is feeling generous” kind of project. Old paint may contain lead, vintage glass can be fragile, and a completed window frame mirror may be heavier than expected. The following guide explains how to inspect the frame, choose a mirror method, restore the wood, install the reflective surface, and hang the finished piece securely.
Choose the Right Old Window for Your Mirror
Not every discarded sash is a good candidate. Look for a frame that is structurally solid, reasonably square, and free from extensive rot. Small cosmetic flaws are part of the appeal. Soft corners, major cracks, loose joints, active insect damage, and badly twisted rails are less charming because they can compromise the mirror’s support.
Inspect the Frame Before Buying or Carrying It Home
Place the window on a flat surface and press gently near each corner. The joints should not wobble excessively. Examine the muntinsthe narrow strips that divide the panesand confirm that they remain firmly connected. A missing piece can be replaced, but rebuilding half the grid may turn a relaxing weekend project into an unofficial carpentry apprenticeship.
Check the existing glass for cracks and sharp edges. If the panes are broken, tape both sides before moving the sash and wear cut-resistant gloves. Do not assume the old glazing compound will continue holding the glass indefinitely. Brittle putty can release a pane with surprisingly little warning.
Decide How Rustic You Want the Frame to Look
A weathered finish can make a repurposed window mirror feel authentic, but there is a difference between attractive patina and paint that falls off whenever someone closes a nearby door. Decide whether you want to preserve the worn surface, repaint the frame, expose some natural wood, or create a controlled distressed finish.
Preserving the existing character usually requires the least visual change, but loose material still needs attention. A clear sealer does not magically make unstable paint safe or structurally sound. The surface must be evaluated and properly prepared first.
Old Window Mirror DIY Tools and Materials
Your exact supply list depends on whether you use individual mirror panes, one large mirror panel, or mirror-effect spray. For a traditional window frame mirror, gather the following:
- A solid salvaged window sash
- Work gloves, eye protection, and a suitable respirator
- Drop cloths or plastic sheeting
- Lead-paint test kit or professional testing service
- Putty knife, glazing tool, and small scraper
- Pliers and a glazing-point driver or small flat tool
- Wood glue, clamps, and paintable wood filler
- Cleaning cloths and mild detergent
- Primer and interior paint, stain, or clear finish
- Custom-cut mirror pieces or a single mirror panel
- Mirror-rated construction adhesive
- Glazing points, mirror clips, or compatible retainers
- Thin plywood or hardboard for an optional backing panel
- D-rings, heavy picture wire, a French cleat, or another rated hanger
- Wall anchors or screws appropriate for the wall structure
Measure the finished project before choosing hanging hardware. The frame, mirrors, backing board, and fasteners can create a substantial load even when the original sash looked light enough to carry with one hand.
Safety First: Check Old Paint Before Disturbing It
In the United States, paint on an old window from a pre-1978 building should be treated cautiously because it may contain lead. Windows and sills are particularly important to evaluate because years of movement and friction can generate paint chips and dust.
Test the coating before scraping, sanding, drilling, or using heat. If lead is presentor if you cannot determine what the paint containsconsider hiring a lead-safe certified professional. Keep children and pets away from the work area, contain debris, and follow current federal, state, and local requirements.
Do not aggressively dry-sand, grind, or heat suspected lead paint. A vintage finish is not worth distributing hazardous dust through your house like extremely unwelcome craft glitter.
How to Turn an Old Window Into a Mirror
Step 1: Photograph and Label the Window
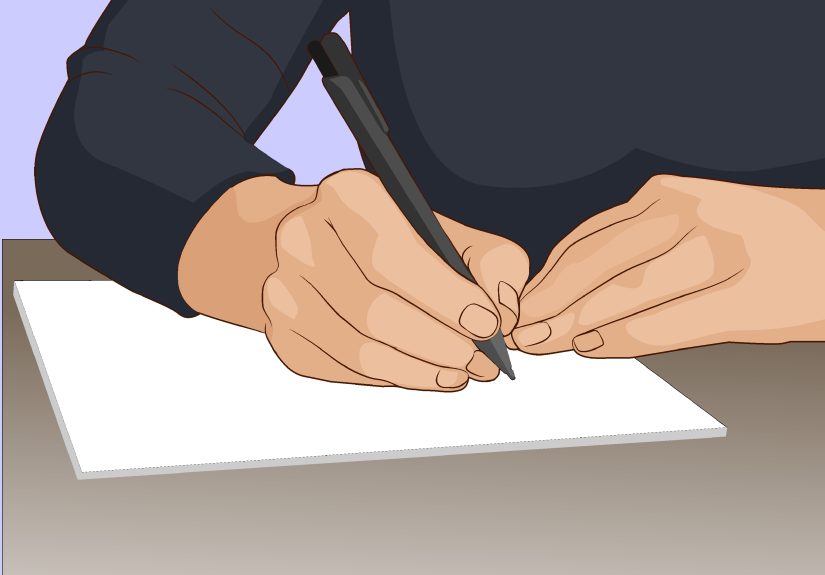
Take clear photos of the front, back, hardware, and pane arrangement before disassembly. Mark the top edge with painter’s tape. If you remove reusable trim, clips, or stops, place the pieces in labeled bags. These small steps eliminate the later mystery of why one part fits everywhere except the place where it belongs.
Step 2: Remove the Existing Glass
Lay the sash flat on a padded workbench with the glazing side facing up. Tape cracked panes before handling them. Carefully remove loose glazing compound, then extract the old glazing points with pliers. Lift each pane while wearing gloves and place it in a rigid container or protected storage area.
Work slowly near the muntins. Vintage wood may be dry and brittle, so forcing a scraper into a narrow joint can split the very detail you are trying to preserve. If the glass is historically interesting, such as wavy or seeded glass, save it for another decorative project.
Step 3: Clean and Repair the Sash
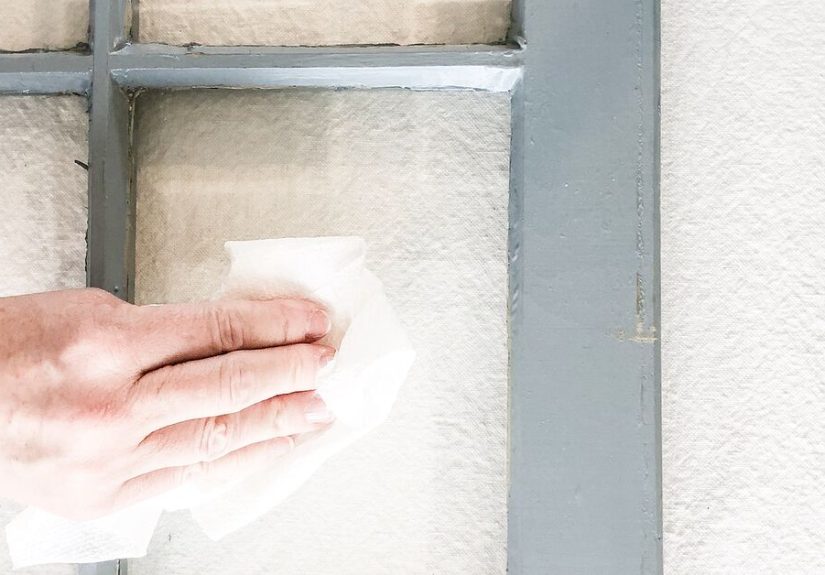
Vacuum loose debris using equipment appropriate for the material you are handling. Wash nonhazardous surfaces with mild soap and a damp cloth, avoiding prolonged soaking. Let the sash dry completely.
Apply wood glue to open joints and clamp them until cured. Fill small dents and unused hardware holes with paintable wood filler. Replace severely damaged muntin sections with matching wood strips when practical. The objective is not to erase every scar; it is to make the frame stable enough to support the new mirror safely.
Step 4: Prepare and Finish the Wood
For confirmed lead-free paint, remove loose flakes, feather rough edges, and lightly sand according to the coating manufacturer’s directions. Wipe away all dust before priming. Bare wood and patched areas generally benefit from a compatible primer, especially when the old surface is porous or uneven.
Apply paint with a small angled brush, working from the muntins outward. Two thin coats usually look cleaner than one heroic coat thick enough to qualify as pudding. For a natural finish, use stain only after removing incompatible paint and residue. Seal the wood with a finish suitable for the intended room.
If you want a distressed appearance, apply a base color followed by a contrasting topcoat. Once dry, lightly wear selected edges where age would naturally occur. Randomly attacking the entire frame with sandpaper often looks less like antique charm and more like the window lost a fight with a belt sander.
Step 5: Measure Every Opening Separately
Do not assume all panes are identical. Old wooden windows are rarely perfect rectangles after years of expansion, contraction, repair, and enthusiastic repainting. Measure the width and height of each opening at several points and record the smallest dimensions.
Allow a small amount of clearance so the mirror does not bind against the wood. A local glass shop can recommend the appropriate deduction and cut each piece accurately. Label the openings and provide a matching diagram with your measurements.
For most beginners, professionally cut mirror is safer and more dependable than learning glass cutting during the final stages of the project. Ask the fabricator to ease or polish exposed edges when necessary.
Step 6: Choose a Mirror Installation Method
There are three practical ways to create the reflective surface.
Option A: Install Individual Mirror Panes
This method preserves the true divided-light appearance. Each opening receives its own piece of mirror, producing subtle breaks in the reflection. It is the most convincing choice for a vintage window mirror, although it requires more measuring and usually costs more than using one panel.
Place each mirror into its opening from the back of the sash. Secure it with new glazing points, mirror clips, removable wood stops, or another mechanical system compatible with the frame. Avoid driving retainers so tightly that they press dangerously against the glass.
Option B: Mount One Mirror Behind the Entire Frame
A single panel is often simpler and creates an uninterrupted reflection behind the muntins. Set the frame face down on padding and position the mirror over the full opening. The back of the sash may need shallow spacers so the glass sits flat without rocking against old ridges or protruding fasteners.
Use mirror-rated adhesive only when adhesive is part of the design. Ordinary construction adhesive may attack or discolor the reflective backing. Follow the product’s bead pattern, surface-preparation requirements, working time, bracing instructions, and full curing period. Add mechanical retainers or a securely fastened backing panel rather than relying on an improvised glue-only installation.
Option C: Apply Mirror-Effect Coating to Existing Glass
If the original panes are intact, a mirror-effect spray can create an aged reflective finish. These products are normally applied to the reverse side of clean glass, but directions vary, so follow the label exactly. Several light coats tend to perform better than one heavy coat.
This technique is useful when you want a decorative antiqued mirror rather than a crisp grooming mirror. Slight transparency, mottling, and variation are part of the effect. In other words, it may look wonderfully atmospheric above a console table but slightly suspicious when used for precision eyebrow work.
Step 7: Add a Protective Back
A thin plywood or hardboard panel protects the mirror backing and keeps dust out of the frame. Cut the panel slightly smaller than the sash, smooth the edges, and fasten it to solid wood with short screws. Confirm the screws cannot reach the mirror.
For individual panes, place thin cushioning or appropriate setting material where needed to prevent rattling. Avoid materials that trap moisture or chemically react with the mirror coating. In a humid room, finish all sides of the wooden frame and provide reasonable ventilation.
Step 8: Install Hanging Hardware
Attach D-rings, a French cleat, or another heavy-duty hanging system to the structural rails of the sashnot to thin decorative muntins. Choose hardware rated above the completed mirror’s weight. When using picture wire, keep the wire and fasteners within their published limits and avoid creating an excessively steep pull on the frame.
Whenever possible, fasten the wall hardware into studs. For masonry, plaster, or hollow walls, use anchors specifically designed for that substrate and load. Large mirrors are easier and safer to hang with a second person. Check the piece with a level before releasing it, then verify that it cannot shift or lift off its hanger accidentally.
Where to Display a Repurposed Window Mirror
Placement determines whether the mirror brightens the room or merely provides a detailed reflection of a laundry basket. Hang it opposite or perpendicular to a natural light source, attractive artwork, greenery, or an open part of the room.
A tall vintage window mirror can visually expand a narrow entryway. A wide sash works well over a console, sideboard, fireplace mantel, or bathroom vanity. In a bedroom, the divided panes add architectural character without requiring a large piece of conventional wall art.
Avoid locations where doors, moving furniture, or busy walkways can strike the glass. Also consider what appears in the reflection at normal viewing angles. Mirrors double the visual impact of whatever faces them, including both houseplants and piles of unopened mail.
Common Mistakes to Avoid
Skipping the Paint Test
The weathered surface may be the feature that attracted you, but old paint requires informed handling. Testing should happen before sanding or scraping, not after the workshop has acquired a mysterious layer of dust.
Ordering Every Mirror Pane in One Size
Measure each opening. A difference of only a fraction of an inch can prevent a rigid mirror piece from fitting. Wood can be persuaded; glass is less interested in negotiation.
Using General-Purpose Adhesive
Select a product specifically approved for mirrors. Some adhesives can damage the silvered backing, cause staining, or fail to support the load. Read the complete label rather than relying on the encouraging phrase “heavy duty.”
Depending on Adhesive Alone
Adhesive can be useful, but mechanical support adds security and may be required by the product instructions. Clips, points, stops, backing panels, and rated hanging hardware should work together as a system.
Hanging the Mirror From Weak Wood
Fasteners belong in sound rails and stiles. Thin muntins are decorative dividers, not miniature structural beams. Repair soft or split wood before attaching any hanger.
Practical Experience: What DIYers Learn From This Project
The first recurring lesson from old window mirror projects is that preparation takes longer than the glamorous part. Installing shiny mirror panes may require only a portion of the project time, while cleaning corners, removing brittle putty, repairing joints, and waiting for finishes to cure consumes most of the schedule. Planning for several short work sessions is usually less frustrating than attempting to finish everything in one marathon afternoon.
The second lesson is to measure late, not early. Measuring before the frame has been repaired can create problems because clamping loose joints may slightly change the openings. Complete structural repairs first, allow the glue to cure, and then take the final mirror dimensions. Create a numbered sketch, label every opening, and mark the corresponding number on the protective wrapping around each mirror piece. Without that system, six nearly identical rectangles can become a surprisingly effective tabletop puzzle.
Another common discovery is that preserving character requires restraint. Beginners sometimes remove every dent, worn edge, and layer of color, only to realize that the frame now looks like a new reproduction. Other makers preserve so much deterioration that paint continues falling off after the mirror is hung. The practical middle ground is to stabilize the surface, repair structural damage, and retain selected signs of age. Patina should look intentional and remain attached to the project.
Dry fitting is equally important. Place every mirror, spacer, clip, and backing component into position before opening the adhesive. This rehearsal reveals high spots, misplaced fasteners, tight openings, and uneven surfaces while corrections are still easy. Once adhesive is applied, the project develops a schedule of its own, and it is rarely interested in waiting while you search for the correct screwdriver.
Many DIYers also underestimate the final weight. A bare sash may feel light, but multiple glass mirrors, a backing panel, and hardware add considerable mass. Weigh the completed piece before buying anchors or hanging it. When in doubt, use a cleat or similarly robust system attached to solid framing. Decorative wall hooks intended for small pictures are not appropriate simply because their packaging contains an impressively confident illustration.
The mirror-effect spray method teaches a different lesson: decorative reflection is not the same as mirror-shop clarity. It can produce a beautiful mottled, aged surface, especially when the original glass has waves or imperfections. However, anyone expecting a flawless bathroom mirror may be disappointed. Make a sample on spare glass first. Testing one pane can prevent the entire window from becoming a reflective object that looks excellent from across the room and strangely foggy from twelve inches away.
Finally, the most successful projects begin with a display location in mind. Knowing whether the mirror will hang over a console, lean on a mantel, or serve above a vanity helps determine the finish, backing, moisture protection, and hanging system. It also encourages you to study the future reflection. A well-placed window frame mirror can bounce daylight, emphasize artwork, and make a small space feel more open. A poorly placed one may provide a panoramic view of electrical cords.
These practical lessons are what make the second salvaged-window project easier than the first. Careful testing, accurate measurements, restrained restoration, mirror-safe materials, and serious mounting hardware create a result that looks effortlessly vintageeven though everyone who has removed old glazing compound knows that “effortless” is doing some very generous storytelling.
Final Thoughts
Learning how to make an old window into a mirror combines restoration, basic woodworking, glass installation, and interior decorating in one satisfying project. The finished mirror preserves architectural detail that might otherwise be discarded while adding useful light and depth to a room.
The best results come from treating safety and structure as part of the design. Test old paint, repair weak joints, measure every opening, use mirror-compatible products, protect the reflective backing, and hang the completed piece with hardware rated for its actual weight. Once those details are handled, the dents, layers, and slightly imperfect lines become features rather than flaws.
Note: Have a professional glass shop cut mirror pieces when you are not experienced with glass cutting. Always follow current product instructions and local safety requirements, particularly when working with suspected lead paint or damaged glass.