
Table of Contents >> Show >> Hide
- What You Need Before You Start
- Why Stitch Is Trickier Than He Looks
- How to Draw Stitch from Lilo and Stitch in 7 Steps
- Step 1: Sketch the Head and Body with Basic Shapes
- Step 2: Add the Face Shape and Main Features
- Step 3: Draw the Giant Ears and Top Fur
- Step 4: Build the Arms, Hands, and Claws
- Step 5: Shape the Legs, Feet, and Toes
- Step 6: Clean Up the Shape and Add Details
- Step 7: Ink, Color, and Finish the Drawing
- Quick Tips to Make Your Stitch Drawing Better
- Common Mistakes When Drawing Stitch
- How to Practice Until Stitch Looks Right
- What Makes Stitch So Fun to Draw
- Experience Section: What Artists Usually Go Through When Learning to Draw Stitch
- Final Thoughts
Drawing Stitch is a little like trying to babysit a blue espresso bean with claws. He looks simple at first glance, but the moment you place one ear a bit too high or make the eyes too close together, your adorable alien can turn into a confused bat, a grumpy koala, or a blueberry with opinions. The good news? Stitch becomes much easier once you stop trying to draw “details” first and start building him from big, friendly shapes.
In this guide, you’ll learn how to draw Stitch from Lilo & Stitch in 7 clear steps. We’ll keep it beginner-friendly, fun, and neat enough for web readers, school artists, hobby sketchers, and anyone who has ever said, “I can draw… circles. Does that count?” Yes. Today, circles count a lot.
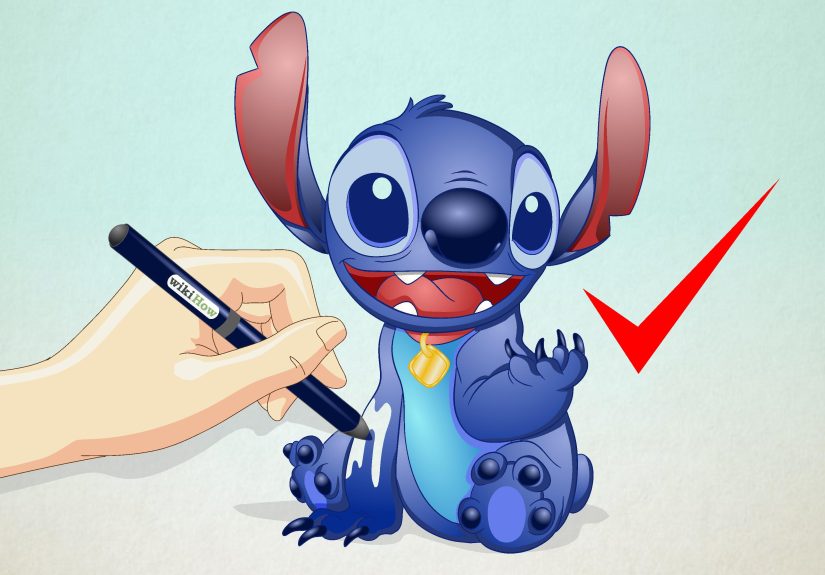
This tutorial focuses on a classic full-body Stitch pose with a front-facing look. That means you’ll practice the features people recognize instantly: the rounded head, huge ears, wide eyes, short body, chunky paws, and that lovable “I may cause chaos, but I’m still cute” expression. Ready? Grab a pencil, an eraser, and a little courage. Stitch probably already stole the rest of your art supplies anyway.
What You Need Before You Start
- Pencil
- Eraser
- Paper or sketchbook
- Black pen or fineliner for outlining
- Colored pencils, markers, or crayons
Keep your first lines light. Really light. Whisper-to-the-paper light. The early sketch is just a map, not a tattoo.
Why Stitch Is Trickier Than He Looks
Stitch is designed with cartoon exaggeration, which is exactly what makes him fun and slightly sneaky to draw. His head is large compared with his body. His ears are massive. His arms and legs are short but expressive. His face has a broad center mask area, a tiny nose, and eyes that need enough spacing to keep him looking cute instead of alarmingly intense.
The secret is proportion. If the ears are too small, he loses personality. If the body is too tall, he stops looking like Stitch and starts looking like a blue gym mascot. If the claws are too big, congratulations, you have drawn a tiny werewolf. So we’ll build him step by step and keep the proportions under control.
How to Draw Stitch from Lilo and Stitch in 7 Steps
Step 1: Sketch the Head and Body with Basic Shapes
Start with two main forms: a large rounded shape for the head and a smaller oval underneath for the body. The head should be noticeably bigger than the body. That oversized head is one of the features that makes Stitch look playful and cartoonish.
Draw a vertical center line down the face and a horizontal guideline across the middle of the head. These light guidelines help place the facial features evenly. Beneath the head, sketch the body as a soft bean or rounded oval. Don’t worry about perfection. You are building the structure first, not entering a geometry contest.
At this stage, your drawing should look a little like a snowman who came from outer space and is hiding a secret. That is normal. Trust the process.
Step 2: Add the Face Shape and Main Features
Inside the head, draw the large face area. Stitch’s muzzle and face markings create a broad central shape that frames the nose and mouth. Add two large oval eyes on either side of the vertical guideline, keeping them balanced and slightly wide apart. Place a small rounded triangle or oval nose in the center just below the eye line.
Then sketch the mouth. For a classic Stitch expression, make the smile wide and slightly mischievous. Add the tongue or inner mouth if you want extra personality. Stitch often looks best when his expression suggests he might hug you or eat your homework. Possibly both.
You can also mark the small bumps or wrinkles around the snout area. Keep these subtle. Too many lines can age your alien by about 40 years.
Step 3: Draw the Giant Ears and Top Fur
Now for the showstoppers: the ears. Stitch’s ears are huge, tall, and slightly curved outward. Draw one ear on each side of the head, flaring up and out like oversized leaves. Each ear should feel broad at the base and taper gently toward the tip, with a slight notch or contour that gives it a more animated shape.
Inside each ear, add an inner ear section that follows the outer contour. This is where you’ll later place the pink or purple inner-ear color. Between the ears, sketch a few short tufts of fur on top of the head. These little spikes help break up the roundness and make the character feel more lively.
If your ears look uneven, fix them now before moving on. In a front-facing Stitch drawing, symmetrical ears do a lot of heavy lifting. One ear higher than the other can make him look less “cute alien” and more “I heard a weird noise in the kitchen at 3 a.m.”
Step 4: Build the Arms, Hands, and Claws
Attach the arms to the upper sides of the body using curved tube-like shapes. Stitch’s arms are short and thick, not long and elegant. He is not trying out for a ballet company. At the ends of the arms, draw rounded hands with thick fingers.
Most cartoon versions of Stitch show three visible fingers and small pointed claws. Make the claws sharp enough to read clearly, but not so long that they become the entire personality of the hand. The hands can angle inward slightly if you want a cute seated pose, or one arm can stretch outward for a more energetic look.
Keep the shoulders soft and connected naturally to the body. Avoid stiff, straight lines. Stitch works best with curves because curves make him feel soft, animated, and huggable, even when he absolutely should not be trusted near your sandwich.
Step 5: Shape the Legs, Feet, and Toes
Next, draw two short legs coming down from the lower body. Think of them as squat, rounded shapes. Stitch’s legs are compact, and his feet tend to sit wide apart in a balanced pose. Draw large rounded feet with visible toes at the front.
Add the toes carefully. Small curved separations between the toes are enough, and each toe can end in a small claw. Keep the feet broad rather than long. This gives Stitch a grounded, sturdy look and helps the character feel stable on the page.
You can lightly indicate knee bends or soft joint areas if you want more structure, but don’t overwork them. This is still a cartoon drawing, not an anatomy exam. The goal is to suggest form, not write a dissertation on alien kneecaps.
Step 6: Clean Up the Shape and Add Details
Now refine everything. Go back through the head, ears, face, arms, and legs. Smooth out bumpy lines. Erase guide marks that are no longer needed. Strengthen the final outline where Stitch’s silhouette matters most, especially around the ears, cheeks, hands, and feet.
Add the final face details: pupils, mouth lines, teeth if you want a grin, and small fur marks around the cheeks or forehead. You can also add the belly patch and subtle markings on the chest if your version includes them. Keep the features clear and uncluttered. Stitch is expressive because of strong shapes, not because he has fifty tiny lines on his forehead.
This step is where your drawing stops looking like “blue potato prototype” and finally starts looking like Stitch. It is a beautiful moment. Enjoy it.
Step 7: Ink, Color, and Finish the Drawing
Once the sketch looks right, trace the final lines with a pen or darker pencil. Let the ink dry before erasing any remaining sketch marks. Then color Stitch with his familiar blue body tones. Use a darker blue for shadows and a lighter blue for highlights if you want dimension.
Color the inner ears and parts of the mouth with pinkish purple. The nose is usually dark blue or black. The eyes can stay dark with bright highlights to make them look shiny and lively. If you want more depth, add light shadowing under the chin, beneath the arms, and around the belly and feet.
You can leave the background white for a clean tutorial-style finish, or add a tropical backdrop with simple leaves, sand, or a Hawaiian sky. Just remember: if the background gets too busy, Stitch can disappear faster than a cookie near a hungry teenager.
Quick Tips to Make Your Stitch Drawing Better
Keep the Head Bigger Than You Think
Most beginners draw the body too large. Stitch looks better when the head dominates the design.
Use Symmetry for the Front View
Check both ears, both eyes, and both feet. If one side drifts, the whole character can feel off.
Draw Light First, Dark Later
Construction lines should stay soft so you can adjust proportions without leaving a muddy mess behind.
Focus on Silhouette
If the outline alone looks recognizable, you’re doing great. Stitch’s silhouette is one of his strongest features.
Common Mistakes When Drawing Stitch
- Making the ears too small: Tiny ears make Stitch lose his iconic look.
- Putting the eyes too close together: This can make the expression look harsh instead of adorable.
- Drawing the body too tall: Stitch should feel compact and sturdy.
- Overdrawing the claws: They should read clearly, not take over the character.
- Skipping the guidelines: Freehand confidence is great, but construction lines save lives. Or at least drawings.
How to Practice Until Stitch Looks Right
Try drawing Stitch three times in a row. On the first drawing, focus only on the proportions. On the second, focus on expression. On the third, focus on clean line work and color. Repetition helps your hand remember the shapes, and it also teaches you which part keeps going wrong.
For example, if your first Stitch has great ears but odd feet, you already know what to practice. If the face looks good but the body feels stiff, loosen the arms and legs in the next attempt. Breaking the process into small goals makes improvement faster and much less frustrating.
What Makes Stitch So Fun to Draw
Stitch is fun because he balances chaos and cuteness in one design. He has monster energy, puppy charm, and cartoon clarity all at once. His features are exaggerated enough to be playful, but simple enough that beginners can still learn from them. Drawing him teaches several useful art skills: shape construction, symmetry, proportion, facial expression, and color blocking.
In other words, learning how to draw Stitch isn’t just about one character. It’s solid cartoon drawing practice disguised as a tiny blue troublemaker.
Experience Section: What Artists Usually Go Through When Learning to Draw Stitch
The first experience many people have when drawing Stitch is pure overconfidence. You look at the character and think, “This will be easy. He’s basically a blue bean with ears.” Ten minutes later, you’re staring at a sketch that looks like a raccoon who just heard bad news. That emotional journey is surprisingly common, and honestly, it’s part of the fun.
One of the biggest lessons artists learn from drawing Stitch is that simple characters are not always easy characters. Because his design is clean and iconic, small mistakes stand out fast. If the ears tilt the wrong way, everyone notices. If the nose sits too low, the whole face changes. That can be frustrating at first, but it’s also a powerful learning experience. Stitch teaches you to respect proportion.
Another common experience is discovering how much guidelines help. A lot of beginners skip them because they want the drawing to look impressive right away. Then the eyes drift, the body leans, and one foot ends up in a completely different zip code. Once artists start using a center line and a few basic shapes, the drawing becomes dramatically easier. Suddenly, Stitch stops looking accidental and starts looking intentional.
There’s also the experience of ear panic. Almost everyone has it. You finish the head, feel good about the face, and then realize the ears are either too short, too stiff, too narrow, or so gigantic they could receive satellite signals. The funny part is that this struggle actually sharpens your design instincts. You begin to see how ear size affects balance, how curves create softness, and how symmetry matters in cartoon work.
Coloring Stitch brings its own learning curve. Many artists assume one flat blue is enough, but the drawing usually looks better when there’s at least a little variation. A darker blue under the chin or around the body instantly adds depth. A touch of pinkish purple in the ears makes the design feel more complete. Even beginners notice that a small amount of shading can make Stitch feel more alive.
Perhaps the best experience of all is the improvement you can see quickly. Stitch is the kind of character you can redraw several times in one sitting, and every attempt teaches you something. The second version usually has better ears. The third has a cleaner face. The fourth finally nails the pose. That fast feedback feels rewarding, which is why so many people keep coming back to cartoon character drawing.
And then comes the final experience: showing the drawing to someone else. Even when the proportions aren’t perfect, people usually recognize Stitch immediately if you capture the ears, eyes, and expression well. That moment feels great. It reminds you that drawing is not about flawless lines. It’s about building a recognizable, lively character out of simple shapes and a bit of patience. So if your first Stitch looks slightly unhinged, don’t worry. That may actually be on brand.
Final Thoughts
If you want to learn how to draw Stitch from Lilo & Stitch, the best approach is simple: start with big shapes, check the proportions, build the face carefully, and let the details come later. The character becomes much easier when you focus on the overall structure before worrying about claws, fur tufts, or color.
Take your time, keep the lines light, and don’t panic if the first version looks a little weird. Cartoon drawing often looks awkward halfway through. Then suddenly, with the right ears and eyes, it clicks. That’s the magic. One minute you have a pile of circles. The next minute: Stitch.


