Table of Contents >> Show >> Hide
- First: Should You Even Drain It?
- What You’ll Need
- How to Lance and Drain a Blister: 14 Steps
- Step 1: Wash your hands like you mean it
- Step 2: Check the blister type
- Step 3: Decide if draining is truly necessary
- Step 4: Clean the blister and surrounding skin
- Step 5: Sterilize your needle
- Step 6: Pick the right puncture spot
- Step 7: Make a small, shallow puncture
- Step 8: Create 1–3 additional tiny holes (if needed)
- Step 9: Let the fluid draindon’t squeeze like you’re wringing out a towel
- Step 10: Keep the blister roof intact
- Step 11: Apply a thin protective layer
- Step 12: Cover with a nonstick dressing (or hydrocolloid bandage)
- Step 13: Reduce friction immediately
- Step 14: Re-check daily and change dressings appropriately
- Aftercare: What Healing Should Look Like
- Signs of Infection (Don’t Ignore These)
- FAQ: Quick Answers People Actually Google
- Prevention: Keep Blisters From Coming Back for an Encore
- of Real-World Experience (So You Don’t Learn the Hard Way)
Blisters are nature’s tiny water balloonsexcept nobody at the party asked for them, and they usually show up right before a vacation, a big game, or the day you decide to “break in” new shoes. Most blisters heal best when left alone. But if you’ve got a large, painful blister that’s rubbing like sandpaper every time you move, carefully draining it can reduce pain and help you protect the areaif you do it the clean, safe way.
This guide walks you through exactly when draining a blister makes sense, when it’s a bad idea, and how to lance and drain a blister in 14 clear stepsplus aftercare, warning signs of infection, prevention tips, and real-world experiences at the end. (Yes, blisters have lore.)
First: Should You Even Drain It?
A blister is a pocket of fluid under the top layer of skin. That “roof” (the thin skin covering the blister) is basically a built-in sterile bandage. If you rip it off or contaminate it, you increase your risk of infection and slow healing.
Leave it alone if you can
- Small blisters that aren’t painful or aren’t in a high-friction spot usually heal on their own.
- Blisters that already popped should be cleaned and protected (don’t “re-pop” an open wound).
Draining may be reasonable when…
- The blister is large, very painful, or limiting movement.
- It’s in a spot where it will likely burst on its own (heel, toe, palm) and you want to control cleanliness.
- You can keep the blister roof mostly intact after draining.
Do NOT drain at homeget medical adviceif…
- You have diabetes, poor circulation, neuropathy, or you’re immunocompromised.
- The blister is from a significant burn, chemical exposure, frostbite, or an unknown cause.
- It looks infected (pus, spreading redness, warmth, worsening pain, fever).
- The blister is very large with severe swelling, or you suspect a deeper injury.
- It’s in a high-risk area (like near the eye) or you can’t keep it clean (hello, muddy hiking trip).
What You’ll Need
Think “mini first-aid kit,” not “mystery needle from the junk drawer.” Gather:
- Soap and clean running water
- Alcohol wipes or rubbing alcohol (for disinfecting tools/skin)
- A new sterile needle or a small sewing needle disinfected properly
- Clean gauze or paper towels
- Petroleum jelly or a thin layer of antibiotic ointment (only if you’re not allergic and can tolerate it)
- A nonstick pad or sterile bandage
- Optional: a hydrocolloid blister bandage (great for friction areas)
- Optional: moleskin or blister pads to reduce rubbing
How to Lance and Drain a Blister: 14 Steps
The goal: drain fluid, reduce pressure, keep the roof intact, and protect the skin underneath like it’s VIP at a very exclusive club.
Step 1: Wash your hands like you mean it
Use soap and water for at least 20 seconds. If you have gloves, great. If not, clean hands are your best defense.
Step 2: Check the blister type
This guide is mainly for friction blisters. If it’s a blister from a burn, a strange rash, or you’re unsure why it appeared, don’t play detective with a needleconsider a clinician evaluation.
Step 3: Decide if draining is truly necessary
If it’s small and tolerable, protect it and let it heal. Draining is for when pain and friction are making life miserable or it’s likely to rupture anyway.
Step 4: Clean the blister and surrounding skin
Gently wash with soap and water. Pat dry. Then wipe the blister surface with rubbing alcohol (or an antiseptic wipe) and let it air-dry.
Step 5: Sterilize your needle
Use a sterile, single-use needle if possible. If using a non-sterile needle, disinfect it thoroughly with rubbing alcohol. (Avoid “creative” methods. Clean and sterile beats dramatic.)
Step 6: Pick the right puncture spot
Aim for the edge of the blister, not the center. The edge puncture helps the roof stay in place and lets fluid drain out more naturally.
Step 7: Make a small, shallow puncture
Gently pierce the blister’s edge with a shallow poke. You’re making a tiny exit doornot performing a home renovation.
Step 8: Create 1–3 additional tiny holes (if needed)
For bigger blisters, a few small punctures around the edge can help it drain without tearing. Keep the holes small and shallow.
Step 9: Let the fluid draindon’t squeeze like you’re wringing out a towel
Use clean gauze to dab as fluid comes out. Gentle pressure near the blister can help, but aggressive squeezing can tear the roof and irritate the skin.
Step 10: Keep the blister roof intact
That thin skin is your natural protective cover. If it’s not dirty or torn, leave it in place. If a flap is loose, smooth it down gently.
Step 11: Apply a thin protective layer
Apply a small amount of petroleum jelly to keep the area moist and reduce sticking to the bandage. Some people use a thin layer of antibiotic ointment, but it’s not always necessary for a clean blister and can cause irritation in some.
Step 12: Cover with a nonstick dressing (or hydrocolloid bandage)
Use a sterile bandage or nonstick pad. For foot blisters, a hydrocolloid blister bandage often works beautifully because it cushions and protects.
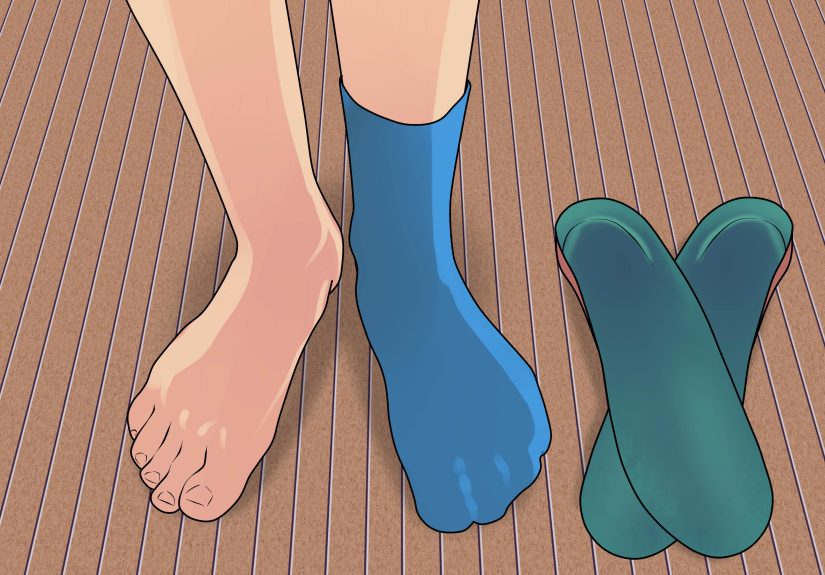
Step 13: Reduce friction immediately
This is the part people skipand then blame the universe when the blister returns. Change shoes, add moleskin, wear moisture-wicking socks, or pad the area so it isn’t being rubbed raw again.
Step 14: Re-check daily and change dressings appropriately
Change a standard dressing daily (or sooner if wet/dirty). Keep the area clean and dry. With hydrocolloid dressings, follow package guidancemany are designed to stay on for multiple days unless they loosen or leak.
Aftercare: What Healing Should Look Like
Most simple friction blisters improve over a few days. The roof may flatten and stick back down. Mild tenderness is normal at first, but it should gradually get betternot worse.
Smart aftercare tips
- Don’t peel the roof off “to let it breathe.” It’s already breathing. Quietly. Under a bandage.
- Keep it clean and covered in environments where it can get dirty (gym, work boots, hiking trails).
- Moist wound care (petroleum jelly + nonstick bandage) often heals better than letting it dry out and crack.
- Protect it from friction until the skin underneath toughens back up.
Signs of Infection (Don’t Ignore These)
If you see any of the following, consider medical evaluationespecially if symptoms are worsening:
- Increasing redness that spreads beyond the blister
- Warmth, swelling, or worsening pain
- Pus or cloudy drainage
- Red streaking, fever, or feeling unwell
FAQ: Quick Answers People Actually Google
Should I drain a blood blister?
Blood blisters can be trickier because they involve injured blood vessels under the skin. Many clinicians recommend leaving them intact and protecting them unless they’re extremely painful or at high risk of tearingthen seek professional guidance if you’re unsure.
Can I drain a blister with a pin I wiped on my shirt?
You can, in the same way you can eat sushi from a gas station at 2 a.m.but the consequences might be educational. Use proper cleaning and disinfection to lower infection risk.
Should I “air it out” at night?
If you’re in a clean environment and the blister is protected from rubbing, brief airing may be okay. But most of the time, keeping it clean, lightly moist, and covered reduces friction and irritation while it heals.
What if the roof tears off?
If the skin flap is clean and mostly attached, gently smooth it back into place. If it’s dirty, fully torn, or trapping debris/pus, you may need to trim dead skin carefully (and consider medical advice). Clean the area and cover with a nonstick dressing.
Prevention: Keep Blisters From Coming Back for an Encore
- Fit matters: shoes that pinch or slide create friction. Fix the fit or the blister will keep auditioning.
- Sock strategy: moisture-wicking socks reduce rubbing. Some people do well with double-layer socks for long walks/runs.
- Hot spot care: when you feel a “hot spot,” stop and pad it early. A small blister pad now beats a huge blister later.
- Keep skin dry: sweat increases friction. Consider foot powder or antiperspirant for sweaty feet (if your skin tolerates it).
- Protect high-friction areas: moleskin, blister cushions, or tape can help during breaking-in periods.
of Real-World Experience (So You Don’t Learn the Hard Way)
If you’ve never had a blister derail your entire personality, congratulations on your blessed existence. For the rest of us, blisters have a talent for showing up at the worst possible timeslike five minutes into a theme park day, or mile three of a “casual” hike that your friend promised was “mostly flat” (it was not).
One of the most common patterns people report is the hot spot warning: that faint burning sensation on a heel or toe that feels like a tiny match being struck with every step. The experienced folksrunners, hikers, nurses, restaurant serverstreat that hot spot like a weather alert. They stop early, dry the area, add a cushion or tape, and change whatever’s causing friction. The beginners push through, hoping sheer optimism will protect their skin. Optimism, sadly, is not a medically recognized blister barrier.
When blisters do get big and painful, the difference between “I drained it and felt better” and “why is my foot staging a rebellion?” often comes down to cleanliness and aftercare. People who have good outcomes usually describe a simple routine: wash hands, clean the blister, use a properly disinfected needle, make a tiny edge puncture, let it drain, keep the roof intact, apply a protective layer, and cover it with a dressing that stays put. Then they do the unsexy part: they reduce friction. That might mean switching shoes, adding a blister pad, wearing thicker socks, or even changing how they lace their shoes.
There’s also a “workplace blister” categorynew dress shoes, steel-toe boots, or long shifts on hard floors. People often say they tried to tough it out for a week, only to end up limping and changing their gait, which leads to knee or hip soreness. A small blister can create a big chain reaction. The best stories here come from folks who built a tiny prevention kit: a couple of alcohol wipes, blister bandages, and a small roll of tape. They didn’t need heroicsjust preparation.
Finally, there’s the emotional experience: blisters are weirdly demoralizing. They’re small, but they make you feel fragile, like your body is filing a complaint against your lifestyle choices. The practical takeaway is kind: don’t shame yourself for draining a blister when it’s truly necessary, and don’t shame yourself for leaving it alone when that’s safer. Your goal is to heal cleanly and get back to moving. The “win” isn’t popping itit’s protecting it.