Table of Contents >> Show >> Hide
- Why People Use Viber to Share Photos
- Before You Share a Photo on Viber
- How to Share a Photo on Viber: 12 Steps
- Step 1: Open the Viber App
- Step 2: Tap the Chats Tab
- Step 3: Select the Person or Group
- Step 4: Tap the Gallery Icon
- Step 5: Allow Photo Access If Prompted
- Step 6: Browse Your Recent Images
- Step 7: Tap the Photo You Want to Send
- Step 8: Preview the Photo Before Sending
- Step 9: Edit the Photo If Needed
- Step 10: Add a Caption or Context
- Step 11: Use Original Quality Only When It Matters
- Step 12: Tap Send
- Alternative Ways to Share a Photo on Viber
- Common Problems When Sending Photos on Viber
- Best Tips for Sharing Photos on Viber
- When to Use Viber for Photo Sharing
- Real-World Experiences With Sharing Photos on Viber
- Final Thoughts
- SEO Tags
If you have ever opened Viber, stared at your screen, and thought, “Why is sending one simple photo suddenly a full-time job?” good news: it is actually pretty easy once you know where to tap. Whether you want to send a quick selfie, share a vacation snapshot, or drop a photo into a group chat like the hero of the conversation, Viber gives you a few fast ways to make it happen.
This guide walks you through exactly how to share a photo on Viber in 12 clear steps. It also covers helpful tips for Android and iPhone users, common mistakes that cause photo sharing problems, and smart ways to send better-looking images without accidentally turning your favorite picture into a blurry potato.
If your goal is to send a photo on Viber quickly, clearly, and without muttering at your phone, you are in the right place.
Why People Use Viber to Share Photos
Viber is more than a messaging app for text chats. It is built for multimedia sharing too, which means photos, stickers, GIFs, and videos are a normal part of the experience. That makes it useful for everyday personal chats, family groups, work updates, school conversations, and those random moments when someone absolutely must see what your lunch looked like.
The nice thing about photo sharing on Viber is that it usually feels familiar. You open a chat, tap the photo or gallery option, choose your image, and send it. On some devices, you can also preview, edit, add a caption, or apply effects before the photo goes out into the world. In other words, you get a little control before you hit send and potentially launch the wrong screenshot into a group chat. We all want to avoid that cinematic tragedy.
Before You Share a Photo on Viber
Before jumping into the step-by-step process, make sure a few basics are covered. First, your phone should have the latest version of Viber installed. Second, Viber needs permission to access your photos or camera if you want to send images from your gallery or take a new one inside the app. Third, you need an active internet connection, either Wi-Fi or mobile data.
It also helps to know that the exact button names may look slightly different depending on whether you are on Android or iPhone. That is normal. Apps love tiny design changes. The core process is still the same.
How to Share a Photo on Viber: 12 Steps
Step 1: Open the Viber App
Start by opening Viber on your smartphone. If the app is not already installed, download it from your device’s app store, sign in, and make sure your account is active.
Step 2: Tap the Chats Tab
Once Viber opens, go to the Chats section. This is where your one-on-one conversations and group chats live. Think of it as mission control for all your photo-sharing ambitions.
Step 3: Select the Person or Group
Choose the conversation where you want to send the photo. This can be a private chat with one contact or a group chat with multiple people. Double-check the chat name before continuing. Sending a birthday cake photo to your boss instead of your cousin is not always ideal.
Step 4: Tap the Gallery Icon
Inside the chat, look for the Gallery icon. On some devices, you may need to tap the Plus icon first and then choose Gallery. This opens your available photo options.
Step 5: Allow Photo Access If Prompted
If this is your first time sending a photo on Viber, the app may ask for access to your photos or media library. Tap Allow so Viber can display your images. Without permission, the app cannot magically guess which photo of your dog wearing sunglasses you want to send.
Step 6: Browse Your Recent Images
After opening the gallery, you will usually see a row or grid of recent photos. Scroll through and find the picture you want to share. On iPhone, you may also see an option to open recent photos in a larger full-screen view.
Step 7: Tap the Photo You Want to Send
Select the image by tapping it. On many devices, you can also choose multiple images if you want to send more than one photo in the same message. That is helpful for travel albums, product comparisons, event recaps, or proving to your friend that yes, the cat really did knock over the plant again.
Step 8: Preview the Photo Before Sending
Take a moment to preview the image. This is the step that saves people from embarrassment. Make sure the photo is the right one, not blurry, and not the accidental screenshot you took while trying to lower your volume. A two-second preview can prevent a ten-minute explanation.
Step 9: Edit the Photo If Needed
Viber may let you edit the image before sending. Depending on your device, you might be able to use a pen tool, apply filters, or make simple visual changes. This is handy if you want to highlight part of a photo, make it look a little more polished, or turn an ordinary snapshot into something that says, “Yes, I do have excellent taste.”
Step 10: Add a Caption or Context
Before sending, consider adding a short caption. A caption can explain what the photo is, why you are sharing it, or what the other person should notice. A caption such as “Here is the design draft” is much more helpful than dropping a random image into the chat like a digital mystery novel.
Step 11: Use Original Quality Only When It Matters
If the image quality is important, such as for work documents, photography, receipts, or design files, look for options related to original size or higher-quality media. Viber also includes photo quality settings on desktop. For casual chats, standard photo sending is usually fine and faster.
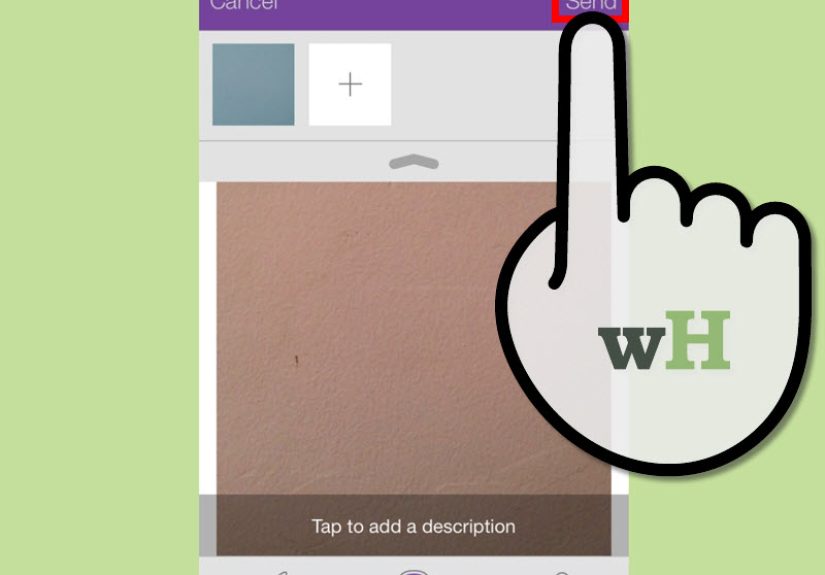
Step 12: Tap Send
Once everything looks good, tap Send. Your photo will appear in the conversation, and the recipient can view it right inside the chat. Congratulations: you have officially completed the ancient and noble art of sharing a photo on Viber.
Alternative Ways to Share a Photo on Viber
Take a New Photo Inside Viber
If you do not want to use an existing image, you can take a new photo from inside the app. Open the chat, tap the camera option, snap the picture, and send it right away. This is perfect for quick updates, live moments, and spontaneous proof that yes, you really are where you said you were.
Send Photos on Viber Desktop
If you use Viber on your computer, you may be able to drag and drop an image directly into the chat window. Desktop settings also include photo quality options, which can be useful when you care more about image detail than file size.
Share to Viber From Another App
Sometimes the fastest method is to open your phone’s Photos app, tap Share, choose Viber, and then select the contact or chat. This can be quicker than opening Viber first, especially when you are already browsing your pictures.
Common Problems When Sending Photos on Viber
Viber Cannot Access Photos
If your photos do not appear, check your phone’s privacy settings. Make sure Viber has permission to access your photos or media. On both Android and iPhone, permission settings can be changed later in the main device settings menu.
The Photo Looks Blurry
Some messaging apps compress images to make sending faster. If your photo looks softer than expected, use a higher-quality option when available or send the image in original size if that setting appears on your device.
The Send Button Does Not Work
If the photo will not send, the most common causes are a weak internet connection, an outdated app version, or temporary app glitches. Try switching between Wi-Fi and mobile data, restarting Viber, or updating the app.
You Picked the Wrong Photo
It happens. The human thumb is not always a precision instrument. This is why previewing the image before tapping send is such a smart habit.
Best Tips for Sharing Photos on Viber
To make photo sharing easier and cleaner, use a few simple habits. First, crop clutter before sending. Second, add captions when context matters. Third, use original quality for important images only, because larger files can take longer to send. Fourth, double-check the chat before sharing. Fifth, keep your app updated so you get the latest media tools and bug fixes.
If you send photos often for work, school, or online selling, organize your image folders so you can find files faster. If you mostly send personal snapshots, make sure your gallery is not packed with fifty near-identical selfies unless your goal is to create a scavenger hunt for your future self.
When to Use Viber for Photo Sharing
Viber is a good choice when you want a simple, built-in way to share images with people you already message. It works well for family chats, friend groups, quick customer communication, event planning, and lightweight work conversations. It is especially practical if the recipient already uses Viber regularly, because the whole process stays inside one familiar app.
That said, if you are sending massive image files for professional editing or long-term storage, cloud services or dedicated file-sharing platforms may work better. Use the tool that fits the job. Not every photo needs the same treatment. A birthday cupcake picture and a high-resolution branding asset are living very different lives.
Real-World Experiences With Sharing Photos on Viber
In real life, most people do not use Viber’s photo-sharing feature in a perfectly organized, step-by-step way. They use it in the middle of daily chaos. A parent sends a school form to another parent. A friend shares a restaurant menu and asks, “Do you want anything from here?” A seller sends product photos to a buyer. A grandparent forwards three slightly blurry garden pictures and proudly captions them, “Tomatoes this morning.” That is where Viber feels useful: it turns photo sharing into something quick, casual, and familiar.
One common experience is that people start with simple image sharing and then gradually learn the small tricks that make the app better. For example, many users do not realize at first that previewing the photo before sending can save them from sharing the wrong image. Others discover that adding a caption makes group chats less confusing, especially when several people are sending pictures at once. Suddenly the message goes from “random image appears” to “Here is the final cake design” or “This is the shelf I was talking about.” Small change, big difference.
Another practical lesson comes from image quality. Casual photos usually look fine when sent normally, so users rarely think about compression until they send something important like a scanned receipt, a contract snapshot, a product detail shot, or a flyer with tiny text. That is the moment people learn to look for better-quality or original-size sending options. It is not that Viber is difficult; it is just that most of us only care about image quality after the first blurry disaster.
There is also the permission issue, which is basically modern technology’s way of asking, “Are you absolutely sure this app may look at your photos?” Many users tap too fast, deny access by accident, and then wonder why their gallery appears empty. Once they fix the permission in phone settings, everything suddenly works and confidence returns. It is a very small hurdle, but it trips up plenty of people.
Group chats create their own kind of photo-sharing experience. In family groups, photos can become full conversations on their own. A single vacation photo turns into twelve replies, two jokes, one unrelated recipe, and an aunt asking why nobody called her first. In work groups, photo sharing becomes more purposeful: whiteboards, product packaging, delivery proof, event setup shots, or screenshots that explain a problem faster than paragraphs of text ever could.
What stands out most is that Viber photo sharing works best when people keep it simple. Choose the right chat, select the right image, add context when needed, and send. That is the whole rhythm. Over time, users build little habits that make the process smoother, like favoriting important chats, organizing photos into albums, or reviewing images before sending. The result is not just faster communication. It is fewer mistakes, clearer conversations, and a much lower chance of accidentally sending a meme to the one person who absolutely did not need to see it.
Final Thoughts
If you were wondering how to share a photo on Viber, the answer is refreshingly straightforward. Open the app, go to your chats, choose the conversation, tap the gallery icon, select your photo, make any edits you want, and hit send. Once you do it a couple of times, the process becomes second nature.
The real secret is not just knowing the 12 steps. It is knowing the little details that make the experience smoother: checking permissions, previewing the image, using captions wisely, and choosing better quality when the photo actually matters. Do that, and Viber becomes a fast, handy tool for sharing moments, information, and visuals without a lot of fuss.
So go ahead and send that photo. Just maybe confirm it is the correct one first. Your future self will appreciate the extra two seconds.