
Table of Contents >> Show >> Hide
If you’re looking for a fun and affordable way to add a touch of rustic charm to your home, look no further than DIY rustic frames. For just $3, you can craft unique, stylish frames that will complement your décor without breaking the bank. This guide will show you step-by-step how to create these beautiful frames and offer a few tips and tricks to make the process even easier. Whether you’re a seasoned crafter or a beginner, this project is simple, cost-effective, and highly customizable.
Why Rustic Frames?
Rustic frames have become a staple in modern home décor. Their weathered, worn look brings warmth and character to any space. Whether hanging on the wall, adorning a mantel, or serving as a part of a gallery wall, these frames add an earthy, organic feel to your home. Plus, they pair beautifully with any theme, from farmhouse chic to contemporary minimalism. The best part? You can make them yourself for a fraction of the price you’d pay at a store.
Materials You’ll Need
Before you begin, gather the following materials. Most of these items can be found at your local craft store or repurposed from items around your home.
- Wooden craft sticks (Popsicle sticks work perfectly) – 10-15 sticks per frame, depending on the size
- Hot glue gun and glue sticks
- Wood stain or paint (optional)
- Picture hanging hardware (optional)
- Picture for framing
Step-by-Step Instructions
1. Prepare Your Wooden Craft Sticks
The first step in creating your rustic frame is to prepare your wooden craft sticks. If you want a more polished finish, you can sand the sticks lightly to smooth out any rough edges. However, if you’re going for a more rustic and weathered look, you can leave them as is for a natural, organic texture. If desired, you can also stain or paint your sticks. For a distressed look, try using a darker stain on the edges and leave the middle parts lighter.
2. Arrange Your Frame Design
Once your craft sticks are ready, it’s time to lay them out. Place the sticks on a flat surface in the shape of a rectangle or square, depending on the size of your photo. Ensure that the sticks are arranged in a way that fits your desired frame size. You can also experiment with the sticks’ positioning – place them horizontally, vertically, or at different angles to create a unique design.
3. Glue the Sticks Together
Using a hot glue gun, apply a small amount of glue to the ends of each stick and press them together. Be sure to hold them in place for a few seconds until the glue sets. Continue gluing the sticks until you’ve formed the outer frame. If you’re making a larger frame, you can use more craft sticks to achieve the desired size.
4. Add the Photo
Once the frame structure is complete, it’s time to insert your photo. Cut the photo to fit the frame, leaving a small margin around the edges. You can use a craft knife or scissors for a clean cut. Place the photo inside the frame and secure it with more hot glue on the back. If you’re planning to hang your frame, make sure to attach the hanging hardware before gluing the photo in place.
5. Finish with a Personal Touch
For a truly personalized touch, add embellishments such as twine, lace, or small decorative items like buttons, dried flowers, or ribbon. These can be glued onto the frame for added flair. You can also try using a more intricate design for the frame’s edges, like gluing additional pieces of wood in a chevron pattern or layering different sizes of sticks for a textured look.
Other Creative Ideas for Customizing Your Rustic Frames
The beauty of DIY rustic frames is that they can be customized to fit any style or occasion. Below are some additional creative ideas to make your frames even more unique:
- Painted Details: Add some paint to your wooden craft sticks for a pop of color. Try painting a border along the frame or adding small painted designs like geometric shapes or floral patterns.
- Distressed Look: For an even more rustic feel, use sandpaper to distress the frame after assembling it. Sand the edges and corners to expose the wood beneath the paint, giving the frame a worn, vintage appearance.
- Repurposed Materials: If you have leftover materials like scrap wood or broken furniture, consider repurposing these items for your frames. You can break down furniture into smaller pieces and glue them into a frame for a one-of-a-kind, eco-friendly project.
- Adding Personal Messages: Write a meaningful quote, date, or message on the frame using a permanent marker. This can be a special touch for gift-giving or a family photo frame.
Why This DIY Project is Perfect for You
One of the best things about creating your own rustic frames is the cost. For just $3, you can create a frame that looks just as beautiful and unique as anything you’d find in a boutique store. This DIY project is also incredibly versatile – you can make as many frames as you like, each with its own personal touch. Whether you’re framing a family photo, a piece of art, or a special memento, this simple craft will add warmth and character to your home.
Incorporating Rustic Frames into Your Home Décor
Rustic frames can be used in various ways to enhance your home décor. Here are some ideas for how to incorporate your DIY frames into your living space:
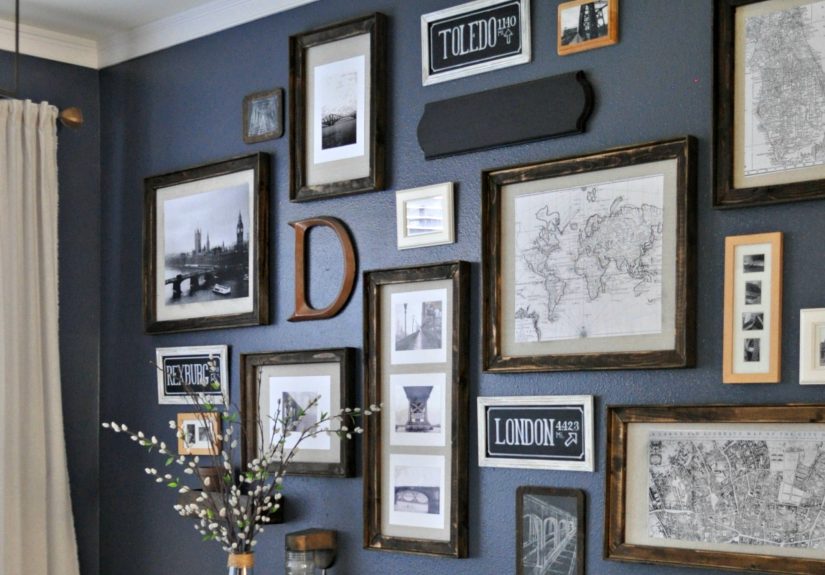
- Gallery Wall: Create a stunning gallery wall by arranging multiple rustic frames in a grid or random pattern. Mix and match different frame sizes for an eclectic and visually interesting display.
- Accent Pieces: Place your frames on mantels, side tables, or shelves for a charming accent piece. A single rustic frame with a black-and-white family photo can add a personal touch to any room.
- Wedding or Party Favors: Use rustic frames as unique wedding or party favors by personalizing them with guest names or table numbers.
Conclusion
Creating your own rustic frames for just $3 is a rewarding, affordable way to enhance your home décor. With just a few simple materials and a little creativity, you can add a personalized, rustic touch to any space. Whether you make them as a weekend project or for a special occasion, DIY rustic frames are a timeless addition to any home.
meta_title: Affordable $3 DIY Rustic Frames | Easy Craft Ideas
meta_description: Create beautiful, rustic frames for just $3! A fun, simple DIY project perfect for personalizing your home décor.
sapo: Learn how to make affordable $3 DIY rustic frames for your home. A fun, easy project that adds charm to any space. Perfect for any décor style!
keywords: $3 rustic frames, DIY picture frames, easy craft ideas, rustic décor, homemade frames, DIY home décor, affordable frame project
Personal Experience: Crafting My Own Rustic Frames
When I first came across the idea of making my own rustic frames for $3, I was skeptical about how great they could turn out. I’ve always loved the rustic, farmhouse style but never thought I could create such pieces on a budget. The process was surprisingly easy and satisfying, and the results were stunning. I used leftover popsicle sticks and wood stain I already had in my craft bin, so it was a cost-effective solution. What I loved most was the versatility of the frames. I could easily personalize them for different occasions. I gave one as a gift for a friend’s birthday, using a picture of us together and adding a personal message on the back. The joy of creating something by hand that holds sentimental value was priceless. Since then, I’ve made several frames and used them throughout my home, and I always receive compliments from guests on how unique they look. If you’re looking for a simple and rewarding craft project, I highly recommend giving these rustic frames a try!


