Table of Contents >> Show >> Hide
Few bosses in Hollow Knight inspire the same mix of dread, respect, and muttered “okay, that was definitely the last try” energy as The Radiance. She is not just another late-game wall. She is the glowing, floating exam that checks whether you really learned how to move, dodge, heal, and keep your cool when the screen starts looking like an angry chandelier exploded.
If you are here, chances are you have already beaten plenty of brutal bosses, survived dangerous platforming, and collected enough upgrades to make Hallownest’s bugs mildly regret messing with you. But The Radiance is different. This fight asks for more than raw aggression. It rewards patience, sharp positioning, smart charm choices, and the rare gaming superpower known as “not panicking.”
This guide breaks down exactly how to beat The Radiance in the base game’s true final battle, not Absolute Radiance from Godmaster. We will cover how to unlock the fight, what to equip, how each phase works, when to heal, what attacks to punish, and which mistakes turn otherwise good runs into tragic bug confetti.
Before You Fight The Radiance
How to unlock the battle
To fight The Radiance, you need to be on the route that leads to the Dream No More ending. In plain English, that means you must obtain Void Heart, enter the Temple of the Black Egg, fight the Hollow Knight, and then use the Awoken Dream Nail on the Hollow Knight when Hornet pins them down. If you do not have Void Heart, you will not reach The Radiance at all.
That is why this boss feels secret, story-heavy, and just a little bit ceremonial. The game is basically saying, “Congratulations, you found the real problem. Now please survive the sky trying to kill you.”
Recommended preparation
Technically, you can challenge The Radiance as soon as you unlock the fight. Realistically, you will have a much better time if you enter well-prepared. A fully upgraded or near-fully upgraded Nail helps a lot, extra Masks reduce the punishment from mistakes, and additional Soul Vessels give you more room for healing or spell damage.
You should also enter with a combat kit that supports fast repositioning and reliable damage. Helpful tools include:
- Shade Cloak for passing through dangerous attacks, especially the Wall of Light.
- Monarch Wings for better vertical control.
- Descending Dark for invincibility frames in emergencies.
- Abyss Shriek for huge damage when The Radiance is above you.
In other words, this is not the moment to wander in with a cute experimental build and a dream. This is the moment to wear your serious shoes.
Best Charms for The Radiance
Survival-focused setup
If you are reaching later phases but running out of health, lean into healing and Soul efficiency. A sturdy survival build can include Quick Focus, Deep Focus, Grubsong, and Soul Catcher or another Soul-support option. This kind of setup lowers your damage ceiling, but it makes every good dodge sequence more rewarding because you can recover more reliably.
This is the build for players who want the fight to feel less like a sprint and more like a controlled, tactical argument.
Spell-heavy setup
If you are comfortable dodging and want to end phases faster, build around Shaman Stone and frequent spell use. Abyss Shriek is especially strong here because The Radiance has a large hitbox and hovers right where that spell wants an enemy to be. Add options like Spell Twister, Quick Slash, or a reach charm to keep pressure on without overcommitting.
This setup is great for turning short openings into big damage, especially during beam attacks, after dodging orbs, or when The Radiance appears low enough for fast punishment.
A balanced setup
If you want the safest overall plan, split the difference. A balanced loadout usually includes one damage charm, one comfort charm, and one recovery tool. The exact combination depends on your playstyle, but the principle stays the same: do not build for your highlight reel, build for consistency.
The Radiance punishes greed far more often than she punishes caution.
Understanding The Radiance Fight
The fight is divided into five phases. Most of her attacks hit hard, and many deal two Masks of damage. The good news is that The Radiance herself does not deal contact damage, so touching her body is not the problem. The problem is everything else she throws at you, which is, unfortunately, almost everything in the room.
Phase 1: Learn the rhythm, not just the attacks
The first phase happens in a wide, open arena. This is the cleanest version of the fight and your best chance to settle down. The Radiance teleports around and uses a full variety of attacks, including sword bursts, sword walls, sword rain, beam bursts, homing orbs, and the Wall of Light.
Your goal here is not to play like a speedrunner possessed by caffeine. Your goal is to read, dodge, and land clean hits. Stay near the middle of the arena whenever possible so you have room to react in either direction. If you hug one side too often, some attacks feel much tighter than they need to.
Whenever The Radiance hangs above you, look for safe Abyss Shriek opportunities. When she launches beam bursts or pauses for sword bursts, you can often squeeze in damage or even a heal. If she sends homing orbs, bait them into the floor or arena surfaces as quickly as possible. The longer those orbs stay alive, the more they turn your plan into interpretive dance.
Phase 2: Same boss, less floor, more stress
Phase 2 adds floor spikes and immediately makes the fight feel ruder. Half the floor can become unsafe, which means your positioning matters even more. Do not drift mindlessly. Pick the safe side, stand your ground, and only move as much as the attack pattern demands.
This is where many players start losing runs because they panic-move. The answer is usually smaller than you think. Tiny adjustments beat dramatic lunges. Calm feet save lives.
If the Wall of Light appears, use Shade Cloak confidently. If sword walls come at you, watch for the largest gap and move early. If beam bursts start, avoid overreacting. The attacks are dangerous, but they are telegraphed. The more controlled you are here, the more this phase becomes manageable instead of miserable.
Phase 3: Sword rain and free momentum
This phase looks chaotic, but it is actually one of the more manageable sections once you understand it. The Radiance remains centered and uses sword rain repeatedly. Floor spikes remain, but the attack pattern itself is more limited.
This is a good phase to rebuild confidence. The key is to watch the gaps, move with purpose, and punish with jump-slashes or spells when safe. Because the attack pattern is narrower, many players find this section easier than Phase 2.
Do not rush because the arena looks familiar. Treat it as a breathing space. Reset your nerves, gather Soul if possible, and get ready for the real troublemaker.
Phase 4: The platform phase, also known as heartbreak with wings
Welcome to the phase that ruins otherwise promising attempts. The arena changes to floating platforms over the Void, and suddenly every dodge has more consequences. The Radiance uses most of her earlier attacks again, except now your movement options are tighter and the room for mistakes is dramatically smaller.
This phase is where discipline wins. Stay centered on platforms when possible, resist the urge to chase damage, and focus first on survival. Homing orbs are especially annoying here, so destroy them by baiting them into platforms whenever you can. If you start chasing The Radiance from platform to platform just to land one extra hit, you are volunteering for a very educational fall.
Use spells when they are efficient, not because you are frustrated. Heal only when you clearly have the window. Good opportunities can appear during beam bursts, single sword bursts, or after quickly clearing a light wall. Bad opportunities appear whenever your brain says, “Maybe I can probably squeeze in two masks here.” That voice is not your friend.
Phase 5: Climb, do not scramble
The last phase is an upward ascent. You jump from platform to platform while dodging giant light beams. The Void rises below you, which creates pressure, but this is still not a race. If you rush, you will jump into a beam, fall, and instantly develop a complicated relationship with your controller.
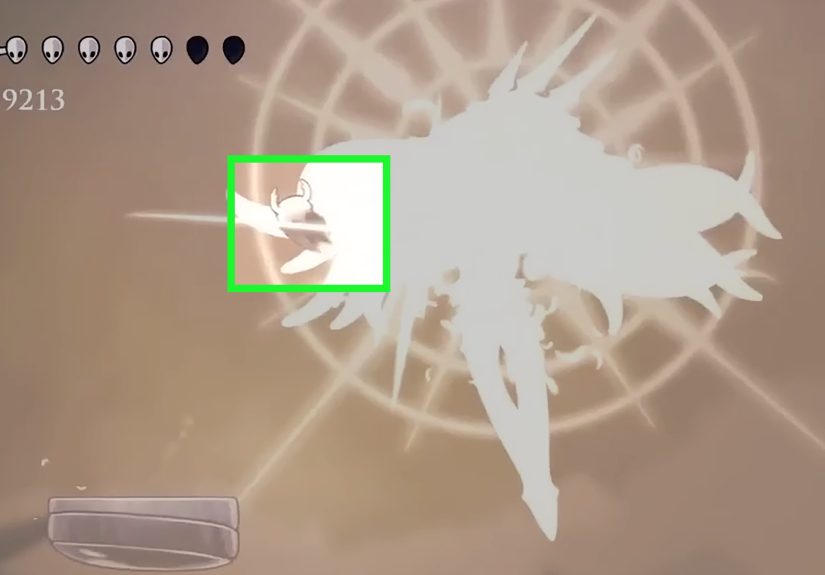
Watch the beam, move upward deliberately, and keep your jumps clean. Once you reach The Radiance at the top, you only need one Nail hit to trigger the ending sequence. One hit. Not a combo. Not a stylish pogo exhibition. One clean, simple hit.
At that point, the fight ends in a dramatic payoff that feels wonderfully earned, mostly because you have just survived a glowing weather system with murder in its heart.
Best Healing Windows
Healing against The Radiance is possible, but only if you stop treating every opening like an all-you-can-eat buffet. Here are the most reliable windows:
- Beam Burst: Often one of the safest times to heal if you already know the beam pattern.
- Sword Burst: Usually short, but often gives a quick single-mask opportunity.
- Late Sword Rain: If you clearly see the final set and have room, you can sometimes heal safely.
- After clearing Wall of Light: If the wall spawned far from your position and you crossed early, you may get a brief window.
Notice the repeated theme: one heal, not a healing vacation. The Radiance punishes greed brutally. Take the mask, take the win, and move on.
Common Mistakes That Keep Players Stuck
1. Chasing damage
You do not need to hit The Radiance every time she appears. You need to stay alive long enough to hit her enough times. Those are not the same thing.
2. Over-dashing
Shade Cloak is powerful, but many players burn it too early and then get clipped by the actual threat a split second later. Dash with intention, not panic.
3. Healing out of frustration
The urge to heal after taking damage is strong. Resist it unless the opening is real. Desperation heals are basically handwritten invitations to disaster.
4. Ignoring spell damage
Many players lean too hard on the Nail and forget how strong Abyss Shriek can be in this fight. If you are not using spells at all, you may be making the battle longer than necessary.
5. Treating the climb like a speed test
The final ascent is about composure. Slow is smooth, smooth is fast, and fast is how you stop getting vaporized by holy laser geometry.
Final Strategy in One Sentence
Stay near center, dodge with small movements, use Abyss Shriek whenever The Radiance gives you a clean vertical opening, heal only during obvious windows, and treat Phase 4 like survival school rather than a DPS contest.
What Beating The Radiance Actually Feels Like
There is a special kind of experience that comes with fighting The Radiance for the first time. At first, the battle feels unfair in the way all great final bosses do. You walk in thinking you are prepared, then suddenly the screen fills with beams, swords, glowing projectiles, floor hazards, and one extremely judgmental sun moth. Your first few attempts are usually a blur. You die, reload, walk back in, and tell yourself you have learned something useful. Sometimes you have. Sometimes you have simply learned that panic-jumping is an art form.
Then the fight starts changing. You begin to recognize patterns. The sword wall that once looked impossible starts to look readable. The beam burst that used to send you running in six directions at once becomes a rhythm exercise. You start noticing that the battle is not really asking for perfection every second. It is asking for recovery, patience, and the ability to keep one bad moment from becoming five bad moments in a row.
That is what makes The Radiance so memorable. The boss is difficult, yes, but the difficulty has texture. Each attempt teaches you something tiny. Maybe it is where to stand in Phase 2. Maybe it is how not to waste Shade Cloak. Maybe it is the glorious revelation that Abyss Shriek hits like a truck when used at the right time. Little by little, the chaos becomes legible. The impossible turns into “actually, I was close.”
And then comes the run. The one where your hands are shaking a little, but your movement is cleaner than usual. You reach the platform phase with more health. You dodge the homing orbs without spiraling into nonsense. You stop going for reckless hits. You climb in the final phase without rushing. Suddenly the fight that looked like a wall starts feeling like a staircase.
Landing that final hit on The Radiance is not just satisfying because you win. It is satisfying because the whole game has been training you for that exact moment. Hollow Knight teaches awareness, restraint, timing, and stubbornness, and The Radiance is the final pop quiz with dramatic lighting. When the ending sequence begins, there is a weird mix of relief, triumph, and disbelief. You are thrilled. You are exhausted. You are already replaying your worst mistakes in your head while somehow also feeling like the coolest insect alive.
That emotional arc is why players remember this fight years later. It is not only hard. It is meaningful. The battle feels like a payoff for the journey through Hallownest, for the lore you uncovered, for the tools you earned, and for the dozens of times the game smacked you around until you finally got better. Beating The Radiance feels less like checking a box and more like finishing a pilgrimage with a sword in your hand and stress in your bloodstream.
So if you are still stuck, keep going. The wall is real, but it is climbable. One calmer dodge, one smarter heal, one less greedy swing, and the entire fight starts to open up. The Radiance is terrifying right up until the moment she is not. And that moment is fantastic.
Conclusion
Beating The Radiance in Hollow Knight is not about playing wildly aggressive or memorizing every frame like a lab scientist with a Nail. It is about preparation, smart charms, controlled movement, and recognizing that the fight rewards calm decision-making far more than desperation. Once you understand the five-phase structure and stop giving away damage to panic, the final boss becomes far more manageable.
Stay centered. Use your spells. Respect the platform phase. Do not rush the climb. And when you finally land that last hit, take a second to enjoy it. You did not just beat a boss. You beat one of the most memorable final encounters in modern action-adventure games.