Table of Contents >> Show >> Hide
- What “Salt from Plants” Actually Means
- Best Plants for Salt Extraction (Pick the Right Green)
- Before You Start: Tools & Ingredients
- How to Extract Salt from Plants: 13 Steps (Kitchen-Safe Method)
- Step 1: Choose a truly salty plant
- Step 2: Confirm your harvest is safe and legal
- Step 3: Rinse like you mean it
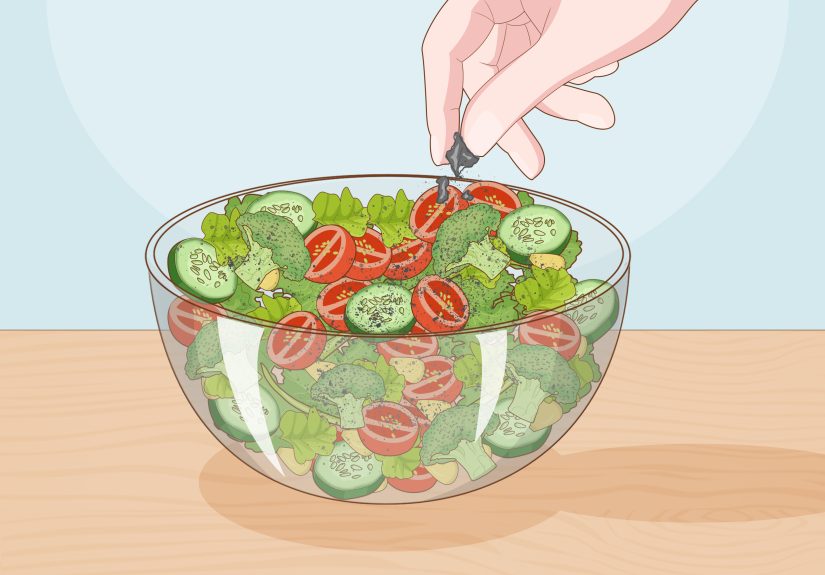
- Step 4: Chop to increase surface area
- Step 5: Weigh or measure your starting amount
- Step 6: Do a cold soak to pull out salts gently
- Step 7: Simmer to finish the extraction
- Step 8: Strain out the plant solids
- Step 9: Filter for clarity (optional, but it improves crystals)
- Step 10: Reduce the liquid into a concentrated brine
- Step 11: Evaporate to form crystals
- Step 12: Dry, break up, and store
- Step 13: Evaluate your results and use responsibly
- Troubleshooting: When Your “Salt” Acts Weird
- What About the Old-School Ash Method?
- of “Real-World” Experience Notes (So You Don’t Panic Mid-Project)
- Conclusion
If you’ve ever tasted a crunchy “sea bean” (a.k.a. pickleweed/glasswort) and thought,
“This plant is basically a tiny salad-shaped salt shaker,” you’re not imagining things.
Certain plantsespecially halophytes (salt-tolerant plants that thrive in salty places)store
mineral salts in their tissues as part of how they survive. That salty goodness can be pulled out with
a simple water extraction and turned into crystals.
But first: let’s keep it real. Plant-extracted “salt” is usually a mix of minerals (often including
sodium and potassium salts), and the exact makeup depends on the species and where it grew.
That’s why this guide treats the result as a culinary experiment or educational projectnot a guaranteed
replacement for food-grade table salt.
What “Salt from Plants” Actually Means
When most people say “salt,” they mean sodium chloride (table salt). Plants don’t manufacture sodium chloride
like a little salt factorythey accumulate ions from their environment. Halophytes can take up salt and either
store it in their cells, shuffle it into specific compartments, or even excrete it through specialized structures.
The result is a plant that tastes naturally briny.
There’s also a historic method involving burning plants/wood into ash to obtain alkaline salts (often called “potash”),
which was used for glass and soapmaking. That process can produce highly caustic materials, so this article
focuses on a kitchen-safe water extraction instead.
Best Plants for Salt Extraction (Pick the Right Green)
You’ll get the best results from plants known to grow in salty environmentsthink coastal marshes, salt flats, or
inland saline soils. Examples people commonly discuss include:
- Pickleweed / glasswort / sea beans (Salicornia species) famously salty and crunchy.
- Saltbush (Atriplex species) salt-tolerant shrubs used in saline landscapes.
- Other edible halophytes depending on region and local rules.
Important: Don’t harvest from roadsides, industrial areas, polluted waterways, or any place that could contain
heavy metals, runoff, pesticides, or sewage contamination. If you’re not 100% sure the site is clean and legal to harvest from,
skip it and source edible halophytes from a reputable seller instead.
Before You Start: Tools & Ingredients
What you’ll need
- Fresh halophyte plants (or another known salt-accumulating plant source)
- Large bowl + colander
- Large pot (stainless steel is ideal)
- Clean water
- Fine mesh strainer + coffee filters (optional but helpful)
- Shallow baking dish or wide pan
- Stove or hot plate (and patience)
- Jar for finished crystals
- Labels (yes, reallyFuture You will thank Present You)
Food-safety note
If you plan to taste the final crystals, treat this like foraging: only use plants that are confidently identified,
harvested legally, and sourced from clean environments. When in doubt, keep the salt as a “science-demo mineral salt”
for non-food uses (like a display jar) rather than seasoning dinner.
How to Extract Salt from Plants: 13 Steps (Kitchen-Safe Method)
-
Step 1: Choose a truly salty plant
Start with a halophyte you can identify with confidence. Salicornia (sea beans/pickleweed) is popular because it’s
naturally briny, widely discussed as edible in some regions, and tends to yield a noticeable mineral extract.
Regular garden plants won’t give you muchthis is like trying to “extract ocean” from a cucumber. -
Step 2: Confirm your harvest is safe and legal
Many coastal marsh areas are protected, and harvesting can be restricted. Also, wetlands can collect pollutants.
If you didn’t buy the plant from a reputable source, do a reality check: clean site, legal access, correct ID.
The goal is saltnot an accidental chemistry experiment. -
Step 3: Rinse like you mean it
Rinse thoroughly under cool running water and swish in a bowl to remove sand, grit, and hitchhiking marsh surprises.
This step removes surface salt toodon’t worry, plenty remains inside the plant tissue. -
Step 4: Chop to increase surface area
Chop the plant into smaller pieces (roughly 1–2 inches). More exposed surface = faster extraction.
Think “herbal tea,” not “whole branch stew.” -
Step 5: Weigh or measure your starting amount
Optional but useful: record how much plant material you’re using (by weight or volume). This helps you estimate yield,
compare batches, and brag with receipts when your project works. -
Step 6: Do a cold soak to pull out salts gently
Put chopped plant material in a pot and cover with clean water. Let it soak 30–60 minutes.
This starts drawing dissolved minerals into the water without cooking the plant (and without making your kitchen smell like low tide). -
Step 7: Simmer to finish the extraction
Bring the pot to a gentle simmer for 15–30 minutes. Avoid a furious boil that shreds the plant into confetti.
Stir occasionally. Your goal: move salts into the water, not reenact a hurricane in cookware form. -
Step 8: Strain out the plant solids
Pour through a colander or fine mesh strainer into a clean bowl. Press the plant gently with a spoon to release liquid.
Don’t squeeze aggressivelyforcing fine plant particles into your brine makes later filtering slower. -
Step 9: Filter for clarity (optional, but it improves crystals)
If the liquid looks cloudy or green-brown, run it through a coffee filter (or let it settle and pour off the clearer top).
Cleaner brine usually produces cleaner-looking crystals. Otherwise, your salt may dry with a “mysterious artisanal pond” vibe. -
Step 10: Reduce the liquid into a concentrated brine
Pour the filtered liquid back into a pot and simmer gently to reduce volume. Keep heat moderateslow reduction helps prevent scorching.
As it concentrates, it will taste saltier (if you choose to taste-test). Stop when it’s noticeably briny and reduced significantly. -
Step 11: Evaporate to form crystals
Pour the concentrated brine into a wide, shallow dish. Evaporate slowly:
- Air evaporation: leave in a clean, dust-free spot (slow but gentle).
- Low-heat evaporation: use the oven on the lowest setting with the door slightly ajar (faster, but keep a close eye).
As water disappears, crystals will begin to form. Depending on minerals and plant pigments, crystals may be off-white, tan, or slightly greenish.
-
Step 12: Dry, break up, and store
Once fully dry, scrape crystals into a bowl. Break up clumps with a spoon (or pulse gently in a spice grinder if you want a finer texture).
Store in a clean, airtight jar. Label it with the plant source and datebecause “Mystery Marsh Salt” is funny until someone puts it in coffee. -
Step 13: Evaluate your results and use responsibly
This is where the “analysis” part pays off:
- Color: dark crystals can mean plant solids carried throughnext time filter more.
- Taste: some plant salts taste more mineral-forward or slightly bitter due to potassium and other salts.
- Yield: yields vary widely with species, growing conditions, and how much brine you reduce.
If you’re using it for food, keep amounts modest, treat it like a finishing salt, and don’t assume it matches table salt for sodium content.
If anything seems “off” (chemical taste, suspicious origin, questionable harvest site), keep it as a non-food curiosity instead.
Troubleshooting: When Your “Salt” Acts Weird
“My crystals are sticky.”
That can happen when there’s still moisture (dry longer) or when the mineral mix includes salts that attract water.
Spread thinner and dry more completely, then store airtight with minimal humidity exposure.
“My salt tastes bitter.”
Many plant extracts include potassium salts and other minerals that can taste more bitter than pure sodium chloride.
Try using it as a small finishing sprinkle rather than your main seasoning.
“I got almost nothing.”
Common causes: wrong plant, too little plant material, too much water, or not enough reduction. Use a known salty halophyte,
chop it smaller, and reduce the brine more.
What About the Old-School Ash Method?
Historically, people extracted alkaline salts (often called “potash”) by processing wood or plant ashimportant for soap and glassmaking.
However, ash-derived solutions can be corrosive/caustic and require serious chemical safety practices.
For home projectsespecially without lab-grade knowledge and protective equipmentthis is a “history lesson,” not a weekend craft.
The water-based halophyte method above is the safer approach for curious makers.
of “Real-World” Experience Notes (So You Don’t Panic Mid-Project)
People tend to imagine salt extraction as a dramatic moment where crystals instantly appear like a cooking show reveal.
In reality, it’s more like watching a slow-moving nature documentary: fascinating, a little weird, and occasionally
interrupted by you peering into a pan whispering, “Are you… crystallizing yet?”
First surprise: the smell. If you use coastal halophytes like sea beans, the aroma during simmering can range from pleasantly
“briny broth” to “a postcard from the ocean.” It’s not necessarily badbut it’s distinctive. Ventilation helps, and keeping the
simmer gentle (instead of a rolling boil) usually makes the scent less aggressive. Some batches smell almost like steamed greens,
while others lean more toward that tidal-marsh vibe. The plant’s freshness and how well it was rinsed make a big difference.
Second surprise: color. Even if you filter, your brine may look lightly green, gold, or tea-colored. That’s normal because plant pigments
and tiny dissolved compounds come along for the ride. If you evaporate quickly at higher heat, the final crystals often dry with more color
and a slightly “rustic” look. If you evaporate slowly in a shallow dish, crystals can come out cleaner and lighter. A lot of first-timers
decideright herethat they prefer “artisanal weird” over “laboratory perfect,” because honestly, a pale green salt flake looks kind of magical
on a plate (assuming you’re using a safe, food-appropriate source).
Third surprise: the crystals don’t always look like table salt. Sometimes you get fine grains; other times you get thin flaky sheets that crack
like ice. Mineral mixes crystallize differently, and plant solids can encourage clumping. If you want a more shaker-friendly texture, the simple fix
is drying thoroughly and then crushing or lightly grinding. If you want fancy finishing flakes, let evaporation happen slowly and avoid disturbing the dish.
The moment you stir, you’re basically telling your crystals, “Form wherever you want,” and they take that as permission to become one giant salt pancake.
Fourth surprise: taste nuance. Pure sodium chloride is a straightforward, punchy saltiness. Plant-derived mineral salts can be more layered:
salty up front, then mineral, sometimes slightly bitter or savory. That’s why many people end up using it like a finishing salt
a pinch on roasted vegetables, seafood, or a tomato slicerather than as the main salt for boiling pasta water. It can also behave differently in recipes:
if the salt contains more moisture-attracting minerals, it may clump in humid kitchens. The airtight jar becomes your best friend.
Final surprise: yield expectations. Newcomers often start with a small handful of plant material and expect a jar of salt.
The more common outcome is a modest amountmaybe enough to fill the bottom of a small jarbecause most plants are mostly water and fiber.
The good news is that the project scales nicely: bigger pot, more plant material, wider evaporation dish, and suddenly you’re producing enough
for multiple test batches and gift-sized jars. Just remember: scaling up also scales up the importance of sourcing clean, safe, legal plant material.
The best “pro move” isn’t a fancy techniqueit’s being picky about what you harvest or buy in the first place.
Conclusion
Extracting salt from plants is part science, part kitchen craft, and part “wow, nature is doing the most.” If you pick the right salt-accumulating plant,
rinse well, extract with water, filter carefully, and evaporate patiently, you can produce a small batch of plant-derived mineral salt crystals.
Keep it labeled, use it thoughtfully, and treat it as a unique finishing ingredientbecause your salt should be a fun experiment, not a mystery.